i heart crafting
Happy Valentine’s Day, blog friends! In an attempt to overcome my annual winter coma of laziness and get some V-Day gifts ready, I lugged the sewing machine downstairs and did some crafting last weekend. I broke two of my rules in doing so, in honor of this rather sappy, but kind of fun holiday. Those rules were 1) No putting hearts on things. 2) Don’t be an overachiever. Why are these my rules? Who knows. It doesn’t matter. It’s just that I really didn’t feel like myself on Sunday, cutting out hearts and doing more than just sitting on the couch watching Downton Abbey all day. Just kidding, I totally watched it while I made these.
Striped Heart Dishtowel
I’ve had this idea floating around in my head for a while now, and I’ve been looking for an excuse to use this fabric my mom got me for Christmas…last year. Obviously it takes me a while to come up with original craft ideas.
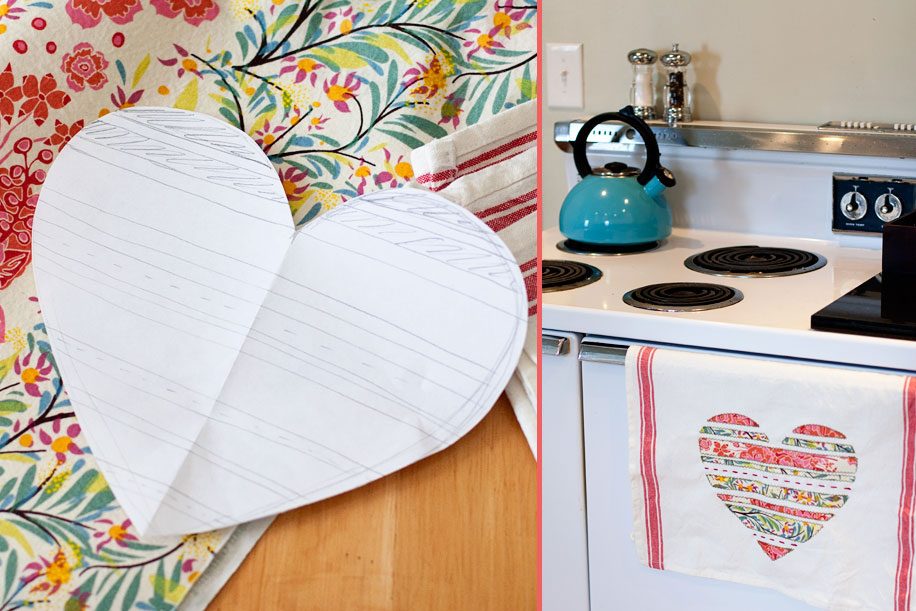
Here are the step-by-step instructions, in case you feel like making your own:
1) Draw half of a heart on a folded piece of paper, kindergarten style. Pencil in the size of your stripes, and number them. I also numbered the spaces, so I could use the clippings later to lay out the fabric stripes.
2) Cut out the stripes.
3) Iron “Wonder Under” or any iron-on fabric adhesive to the back of your fabric & trace your shapes on it, keeping in mind which area of the fabric will cover each stripe. You could skip the first two steps and just start here by drawing your heart and stripes directly on the fabric. However, you will end up wasting the fabric in the negative space. My fabric had two distinct groups of colors in the design and I wanted to alternate them, so I used the even numbered stripes on the pink and red areas of the fabric, and the odd numbered stripes on the blue and green areas.
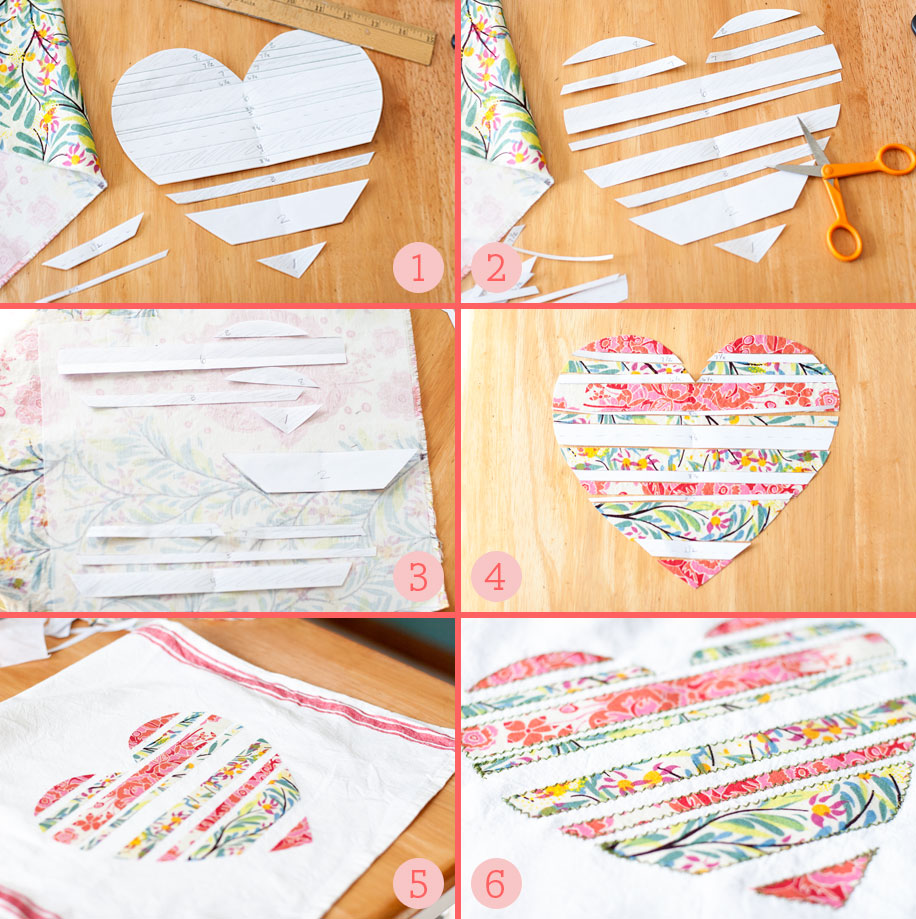
4) Cut out the fabric/adhesive stripes, and lay them out with the numbered “spaces” and make sure everything looks the way you want it.
5) Remove the backing from the Wonder Under and use the spaces to lay out the design over the towel. One piece at a time, iron the fabric onto the towel.
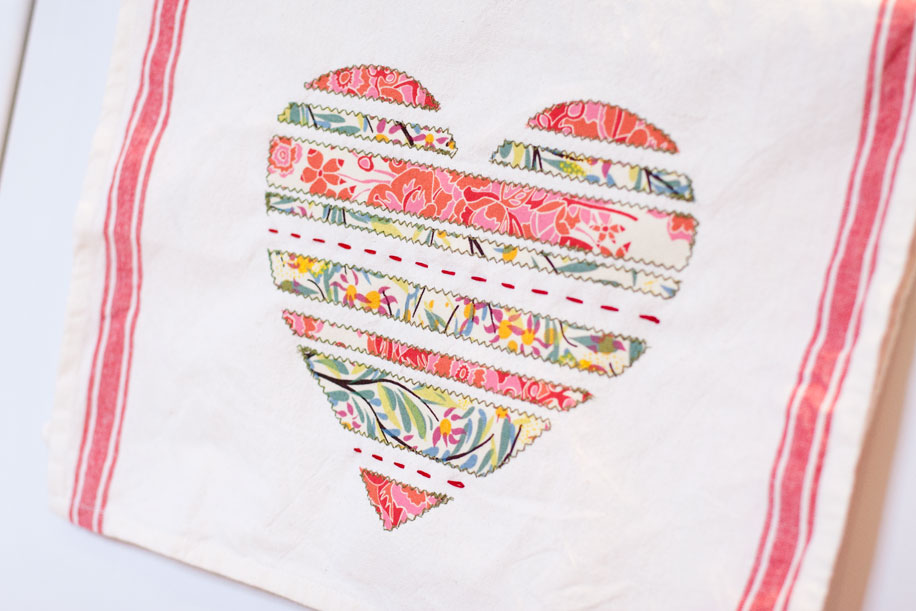
6) Stitch around the edges of each stripe with a sewing machine. I used the double zig-zag stitch, which is more visible and sturdy than the single zig-zag.
Lastly, I used embroidery floss to stitch a dotted line in between two of the largest gaps between my fabric stripes for a finishing touch and to add a little texture.
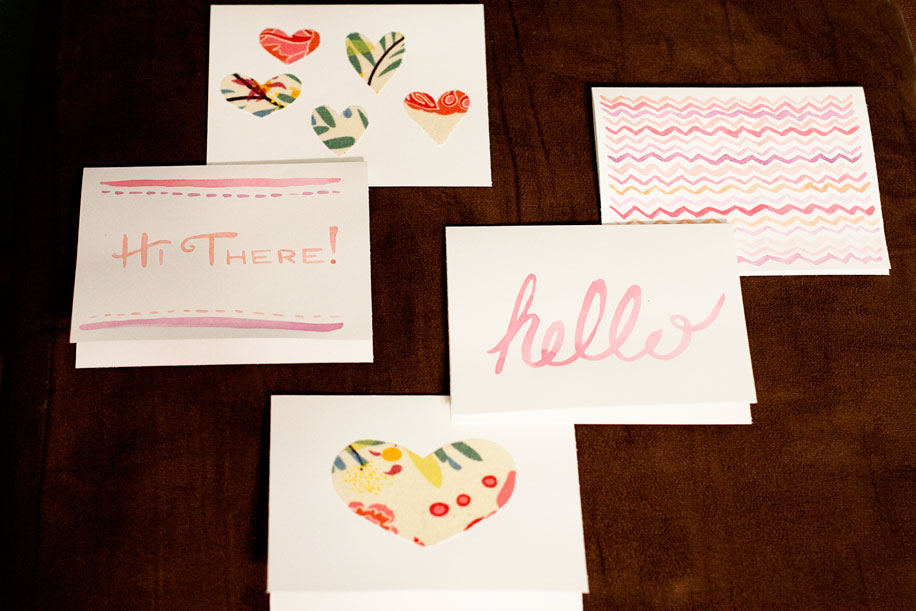
Fabric & Watercolor Notecards
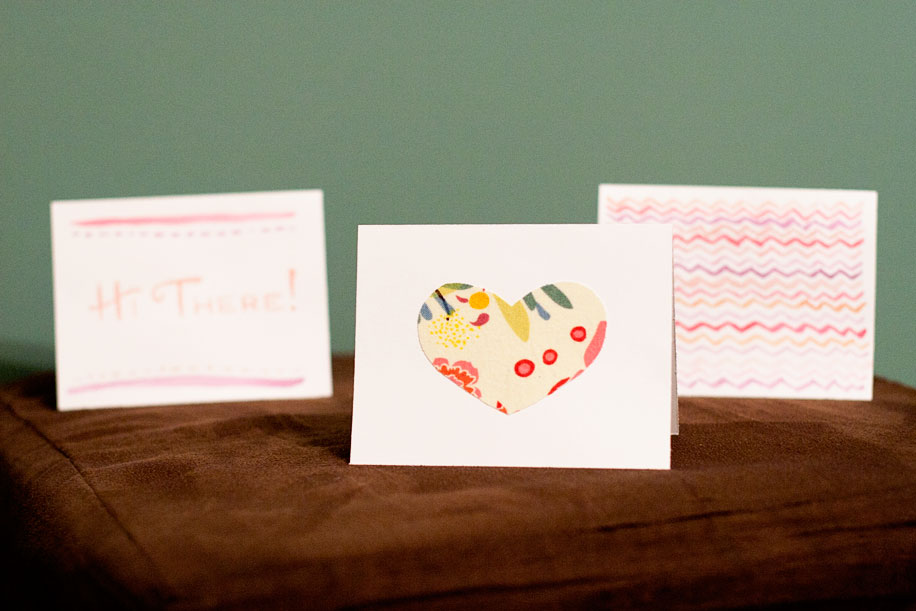
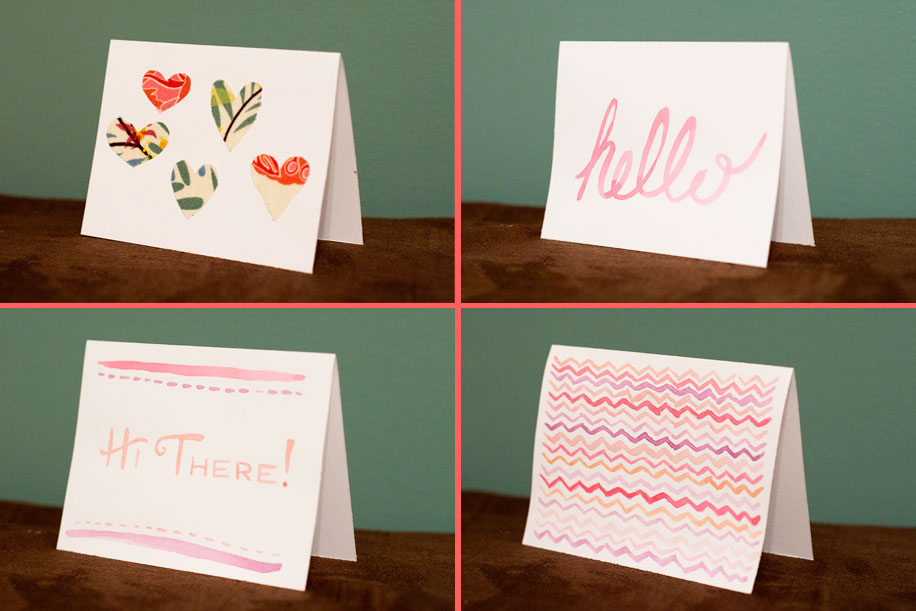
After I made the towel, I had leftover scraps of my fabric that still had the iron-on adhesive backing. The pieces were fairly small, so I cut small hearts out of them and carefully ironed them onto some blank notecards I had. In doing this, you have to be a little careful not to touch the iron to the paper because it can leave weird marks, but I really like how these turned out. If you had more time than I did, you could stitch around the hearts or even just stitch straight lines across the entire front of the card. For the other three cards, I used watercolors and just painted random designs and phrases.
I hope you’re all doing something fun for Valentine’s Day. Maybe eating a little too much ice cream? I know that’s on my list of to-dos tonight. Enjoy!
JR